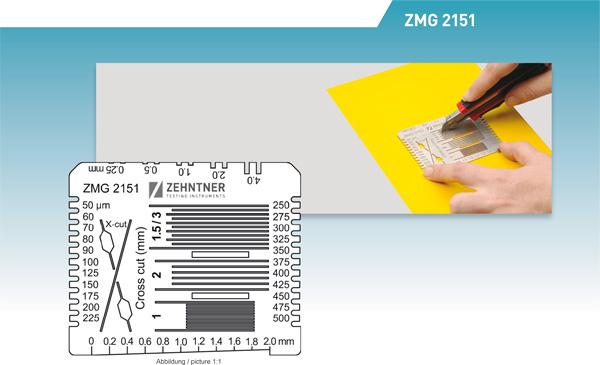
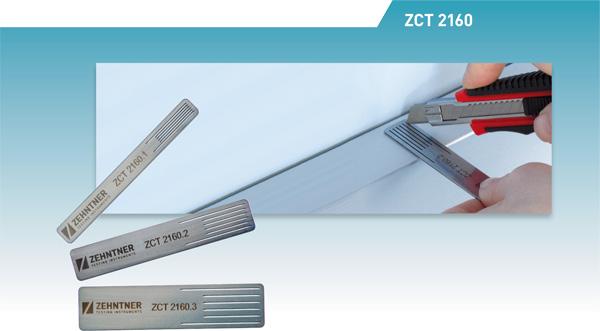
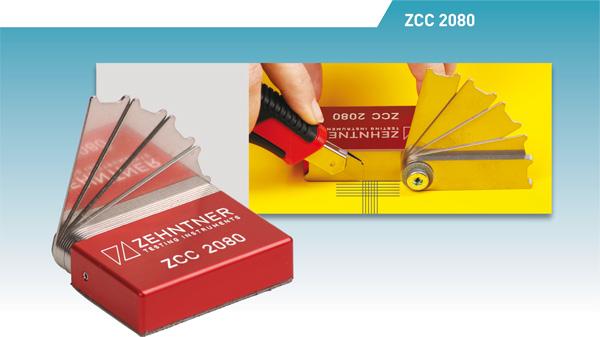
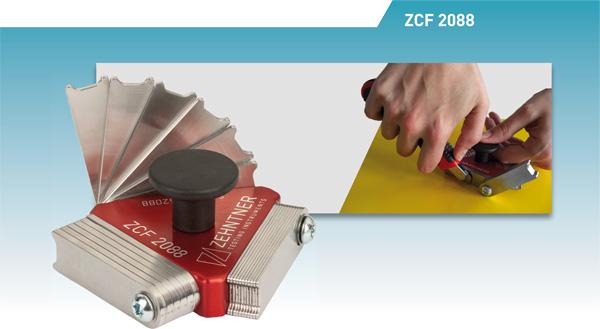
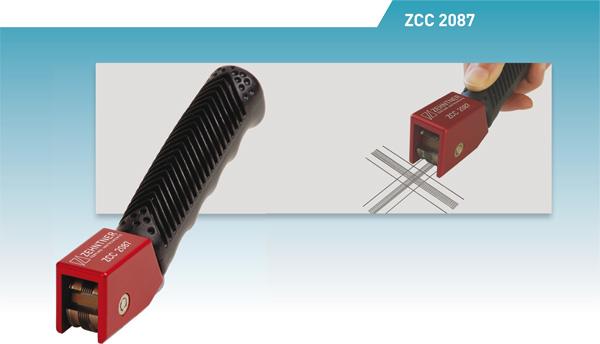
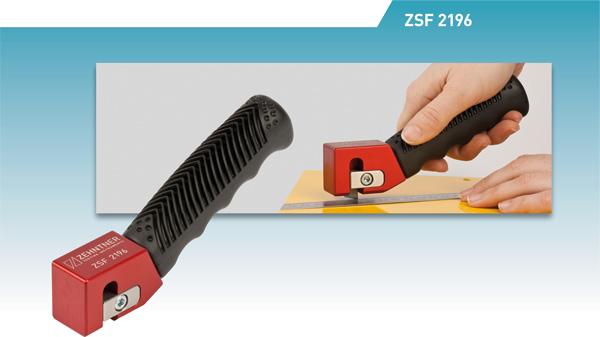
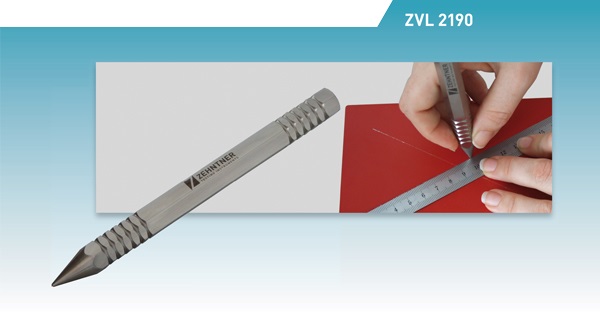
The cross-cut test is a very rapid and simple method for the assessment of single and multi-coat systems. Here, cuts in a 30° angle (method A) or right-angle (method B) are executed so that you receive a lattice pattern or an X-shape. These test methods can be used as quick pass/fail tests. When applied to a multi-coat system, assessment of the adhesion of individual layers of the coating among each other may be carried out.
Choice of the appropriate cross-cut method
- Methode A (X-cut) for tests in accordance with ASTM D 3359 with thickness > 125 µm (4.92 mil)
- Methode B (lattice pattern) for tests in accordance with ISO 2409 with thickness 0 - 250 µm (0 - 2.36 mil) and ASTM D 3359 with thickness <125 µm (4.92 mil)
Choice of the appropriate spacing of cuts (method B) in accordance with ISO 2409:
| Film thickness | Substrate | Spacing of cuts |
|---|---|---|
| 0 to 60 µm (0 to 2.36 mil) | hard | 1 mm (0.04“) |
| 0 to 60 µm (0 to 2.36 mil) | soft | 2 mm (0.08“) |
| over 60 to 120 µm | hard or soft | 2 mm (0.08“) |
| over 60 to 250 µm (2.36 to 4.72 mil) | hard or soft | 3 mm (0.12“) |
Choice of the appropriate spacing of cuts (method B) in accordance with ASTM D 3359:
| Film thickness | Spacing of cuts |
|---|---|
| 0 to 50 µm (0 to 2.0 mil) | 1 mm (0.04“) |
| 50 to 125 µm (2.0 to 5 mil) | 2 mm (0.08“) |


